How to Get a Job in IT: The Definitive Guide for Securing A Dream Tech Career
Unlock your dream tech career! Navigate the evolving IT job market with specialization insights and educational paths. Dive in now!
Create learner account
Lrnkey
2022-02-08Explore more than 500+ high-income skills with highly motivated tutors
Are you looking to learn the best stamping crafts for beginners? Well, you are at the right article. We are all born with some creative skills. But to use those skills, we require various tools that can help us assist with our craft projects.
Stamping can be an easy way to decorate any project, add personalized branding, mark office materials, or speed up tedious processes. It is a craft that has been around for hundreds of years. To learn the best stamping crafts for beginners, you need to plan your project and gather your supplies. Making stamps on your own is a fun way to learn to stamp.
It is easier to use stamps but can be tricky when making one for self. This article discusses the best stamping crafts for beginners and the types of stamps you can use for a personalized impression.
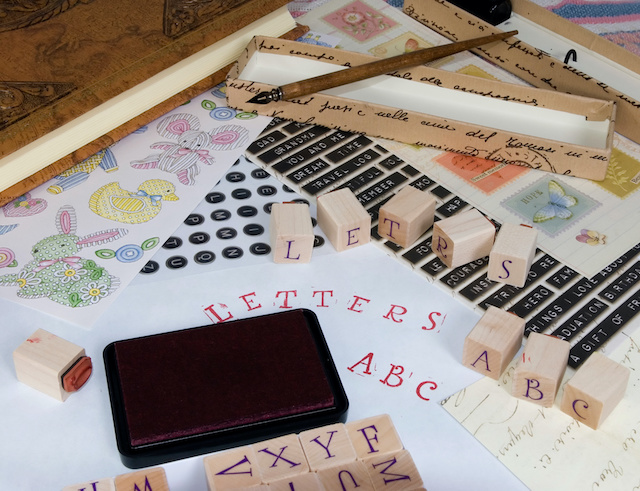
This section of the best stamping crafts for beginners will discuss the different types of stamps available in the market. These are some of the various kinds of stamps that are commonly used.
Wax stamps have been in use since the royals. It was used to seal official and military documents. Different merchants and nobility also used wax stamps to seal different paperwork. These old values linked to the wax stamp have still made it relevant in today’s world.
Like wax stamps, these leather stamps are also made of a metallic handle using a strong metal. It is made after tanning the leather and damping it with water. To keep the impression of the leather last, it is essential to treat it with oils. These leather stamps are used in leather factories and by enthusiasts who make their own DIY stamps.
Rubber Stamps are one of the common stamps of today’s world. It is made using vulcanized rubber. In the early days, wood was used instead of vulcanized rubber. The inks selected for these stamping depends on the material that needs to be stamped.
These stamps are similar to acrylic stamps, except they are made using high-quality polymer. Due to this, they are also referred to as photopolymer stamps or clear acrylic stamps. These stamps are used in transferring an image or a design onto a surface. The inks stick very well with these stamps as they have a very sticky property, resulting in crisp stamps and images.
Numbering stamps have multiple roles of alphabets and numbers that can be customized to fit your requirements. After setting the number, you can use an ink pad to stamp the date or day that you want to stamp. You can use a simple ink pad or press down if it is a self-inking stamp to stamp. These stamps are used in different offices and factories to mark signature and date stamps on official documents.
The eco-friendly stamps are produced using recycled materials. The ink used in these stamps is also chemical-free. Different eco-friendly startups and companies use it to create awareness and reduce pollution. These stamps work similarly to any conventional stamp except the material used, making all the difference.
Whether designing homemade cards or decorating boring walls, stamps are fun to create pretty designs with little artistic skill. If you want to avoid buying expensive pre-made stamps, make your own at home. Try a twist on the traditional rubber stamp using an eraser, or create a quick sponge stamp to paint basic shapes. This section will discuss the best stamping crafts for beginners that take very little of your time.
Find a tutor for this topic
It is recommended to stick with basic shapes that do not require detailed or tiny cuts. You can go for a complex design if you are an expert or someone with advanced skills. For example, you can start with triangles, stars, or block letters.
You can practice drawing designs on scrap paper. It will help you comprehend if it would be difficult to cut it on the eraser or not.
Choose a rubber of any size or color for your stamp. A thicker eraser will be easier to cut and will hold up better over time. Since you’ll have to flip the eraser for a stamp, use a marker and draw an inverted image on the eraser. This technique will allow you to get a normal image when painting with it.
If it is difficult to make an inverted design, you can draw the image on paper. Then flip the image over to get the mirror image and trace it onto the eraser. It is essential to use a backward image, especially if you’re using letters and numbers.
>Using a V-tool or X-Acto knife, remove excess erasers from any spots you don’t want to be painted. The area that stands up above the rest will be your stamping part. You can carefully shave off the extra bits.
For a more accurate stamp, cut the rubber close to the design. If you need extra support, you can attach a piece of wood to it.
To check your stamp, apply a thin coat of paint using a brush or dab it on an ink pad. You can then line the stamp with your craft and apply firm pressure to test it. If you don’t get the image you like, you can clean the eraser, re-cut it, and try it again.
You can use any ink or colour that you would like to test. Look for any smudged colour or spots you didn’t want and try to fix it.
Cleaning your stamp will prevent the previous colour from transferring to your next craft. Using a baby wipe is the best alternative for cleaning. Due to the presence of lanolin, it moisturizes the stamp making it last longer than expected. Wipe any extra colour from the edges to get a clean image.
Another method is to wash it using soap and water. Use a toothbrush and scrub it gently to remove any dried colour. It is recommended to avoid alcohol as it can dry out your stamp.
Creating a rubber stamp using an eraser is amongst the best stamping crafts for beginners.
Before proceeding with sponge stamps, it is essential to note that sponges are not ideal for complex designs. It works best for simple designs like circles, hearts, stars, and other uncomplicated designs. If you do not wish to cut the sponges freehand, use a marker to outline before cutting. You can easily buy sponges at any grocery store or online retailer like Amazon.
Take an empty roll of toilet paper and cut it into pieces such that it fits perfectly into your hands. Attach a roll section to your stamp using hot glue to avoid smudges. This helps to stamp your sponges without getting any paint on your hands.
Dip the sponge gently into the paint and allow it to soak. Note that it is unnecessary to absorb the paint entirely through the sponge. After dabbing it in colour, tap it lightly on a piece of paper to remove any extra paint. Not dabbing the sponge will smear your final image.
Choose a paint type based on your surface. Use fabric paint when stamping a T-shirt by a stamping machine or wall paint if you’re decorating a wall. Fill a tray or shallow dish with the colour, making it easier to coat your stamp.
To avoid pooling paint in the center and distorting your design, press down each edge firmly. This method helps you apply the stamp firmly onto the surface and transfer the design properly. Hold your stamp for 3-4 sec and remove it to avoid over saturating the impression.
After finishing the artwork, place the stamp directly under running water to remove the paint. If the paint dries, you will have to create a new stamp as the old sponge will be of no use. Wash it until you get rid of all the colour from the sponge.
Potato stamps are one of the most creative and best stamping crafts for beginners. You can try this out at the comfort of your home using basic household items.
Using a sharp knife, cut down the potato into two halves. It is essential to ensure that you have a smooth and flat surface. This flat surface helps you press down your stamp evenly.
You can also use sweet potatoes for making your stamps. You can also leave a piece on top of your potato to better grip your potato.
Press down the potato into the cookie-cutter by placing the cutter horizontally on a flat surface. Use the sharper side of the cutter for inserting as it would be easier to go into the potato. Insert it just enough to create a significant stamp in the potato.
For an asymmetrical design, flip the cookie cutter before inserting. This will create a mirror image of the potato. This technique will help you give out a proper print when stamping it on the surface.
This step will help you create your potato stamp. Run the knife around the potato while the cutter is inside it. Remove a slice big enough to keep the design raised off the remaining potato.
Using a paintbrush, apply enough paint to cover the stamp. Remember that too much colour on your stamp can smear the final image.
Once you are familiar with the best stamping crafts for beginners, you should learn a few tips. These make your work easier, helping you become a master stamper in no time. Our tips would help you get the most out of different stamping techniques.
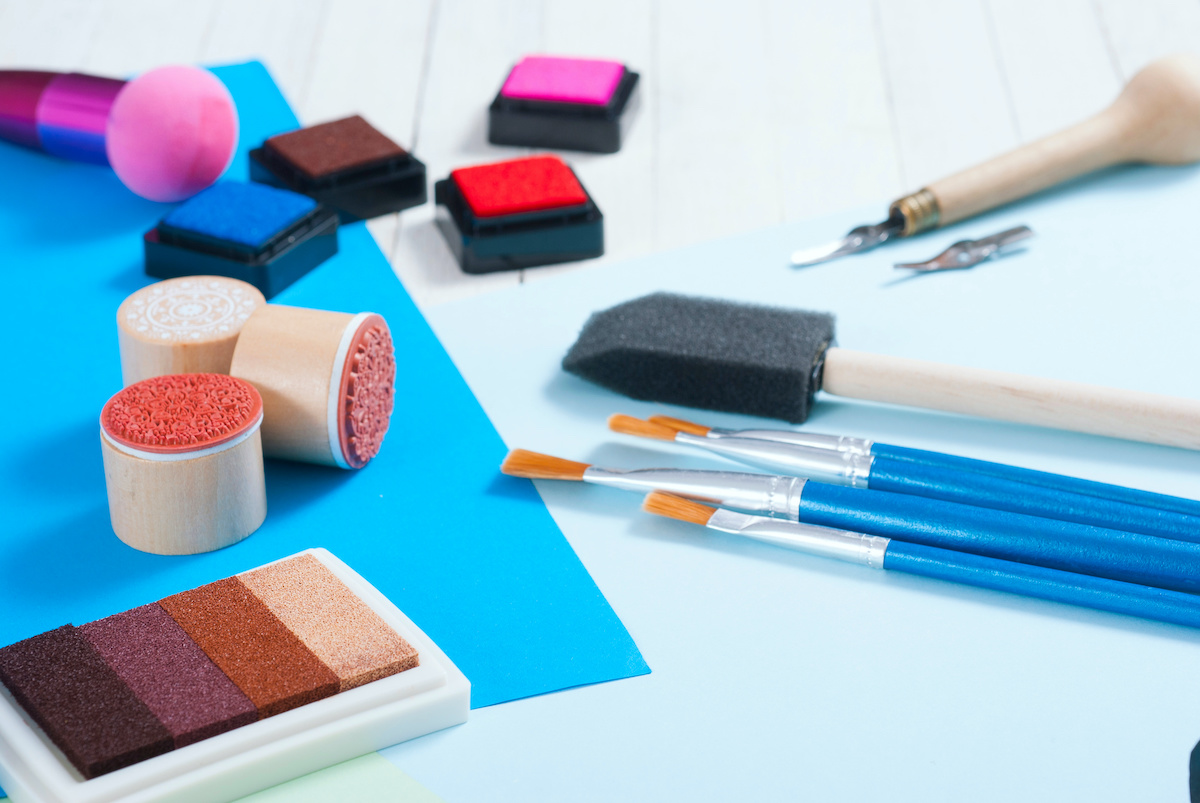
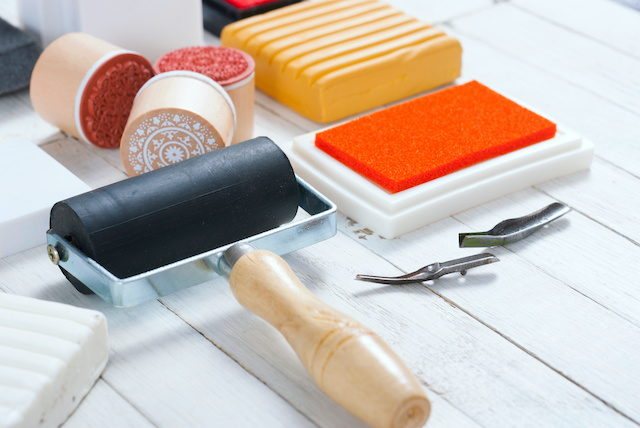
When you learn about a new craft, ensure you always invest in quality stamping crafts supplies. This will save you time while learning the best stamping crafts for beginners. I suggest you make your stamps in the beginning and get familiar with the process.
Once you are ready to move to an advanced level, you can buy pre-made rubber stamps. Acrylic stamps are suitable for beginners. They are affordable and will last you a long time.
Whether making your stamps or buying from the market, try it before using it on your project. All stamps are different when it comes to pressure. Some stamps leave a good impression with slight pressure. Others might need a good push to leave an impression.
You should always keep a sample paper on your desk, try all the stamps, and study their impressions. This will help you determine how to use your stamps without ruining your project. It is one of the most important tips to remember while learning the best stamping crafts for beginners.
It would help to have a lot of patience while stamping. It would be best if you allowed yourself the time to stamp correctly. When you try to get it done quickly, there’s a chance that your stamp might not leave a good mark. This will ruin the appearance of your craft.
If you are using a large stamp, make sure you get an even impression. You should keep your other hand on the stamp to ensure an even impression.
While learning the best stamping crafts for beginners, you need to ensure that you don’t let your stamping pad dry out. This can be a nightmare for you, especially when you are in the middle of a project. Finding an ink pad with the same colour can be tricky.
When you learn this technique, make sure you invest in good-quality ink pads. This will help you make sure that you don’t dry out your ink pads quickly.
If you want to reuse your stamps and don’t want them to go to waste, you’ll need to clean them properly. This has to be done after every use. If you leave your stamps with ink and dry them out, it becomes tough to clean them. You cannot use them again, as they might not leave an even impression on the surface.
For cleaning your stamps, you can use a non-fibre cloth, soap, and water. Dip the cloth in water and carefully rub it against the surface of your stamp. Make sure you get the fabric in the nooks and corners and clean the stamp perfectly. Keeping your stamps clean is necessary while learning the best stamping crafts for beginners.
Once you have learnt the best stamping crafts for beginners, you might want to speed up your stamping. Make sure you have baby wipes in hand to keep up your momentum while stamping. You can use them to clean up your stamps quickly and move them to the next section of your project.
However, this will only work for dye-based and pigment inks. You should use soap, water, and a non-fibre cloth for all the other inks.
You can pour the paint into a tray and dip the cut side of the potato into it. Remove the extra colour off it, and then stamp it firmly on your craft.
Creating and learning the best stamping crafts for beginners is a fun task. You get to create an exciting project and use your imagination to make uniquely designed stamps.
If you want to learn more about the best stamping crafts for beginners, you can take a 1:1 lesson from an online tutor. This will help you be clear with the basic techniques and the small tips and tricks.
Lrnkey, an online tutoring platform, offers online tutorials for beginners and advanced artists. These one-on-one lessons hosted by expert tutors help you learn everything there is about stamping.
Now go on and try to implement what you learned in this guide of best stamping crafts for beginners. Let us know your experience in the comment section below.
Once you have made your stamps or bought ones from the market, you need to learn to stamp evenly. Dip your stamp in ink properly. Flip your stamp and line it with the base surface.
Lower your stamp evenly at the surface. Put equal pressure on all the edges, and press the stamp once. If you lower your stamp at an angle, it may result in a smudged image. Making a neat impression is vital while learning the best stamping crafts for beginners.
There are different stamping techniques that you can use while learning the best stamping crafts for beginners. The best technique depends upon your stamping crafts ideas. If you are doing a project with designs not readily available in the market, you’ll have to create your stamps. While this may take some time, most people prefer using this technique.
If you do a project with traditional designs, you can buy stamping blocks or woodblock stamps. If you’re an advanced creator and use stamps daily, investing in a stamping press would be a good idea. These are perfect for stamping in layers, repeated stamp positioning, and aligning letters.
While learning the best stamping crafts for beginners, it is crucial to clean your stamps. For most stamps, you can use a mixture of soap and water. Clean your stamps with a non-fibre cloth. You can also use a stamp-cleaning liquid.
However, soap and water might be a little harsh for rubber stamps. Instead, you can use alcohol-free wipes to clean up your stamps. Baby wipes are the best for rubber stamps.
Depending upon your goals and your project, you can choose the type of ink you want to use. There are a variety of inks available in the market. These include pigment inks, dye inks, solvent inks, and hybrid inks. And they’re sold by multiple brands and in various colours.
If you are stamping on fabrics, you should use pigmented ink. They come in multiple colours and are not washed out easily. Hybrid inks are used for layered stamping. On the other hand, solvent inks can stamp glass, plastic, or metal surfaces. The type of ink you use while stamping depends on your surface and use case.


Explore more than 500+ high-income skills
Practice with experienced tutors
Book your first free lessonAre you a robot?