Online Education in Luxury Maternity Clinics
Discover how online education in luxury maternity clinics offers flexible, expert support for expecting mothers, blending convenience with high-quality care.
Create learner account
Lrnkey
2022-02-08Explore more than 500+ high-income skills with highly motivated tutors
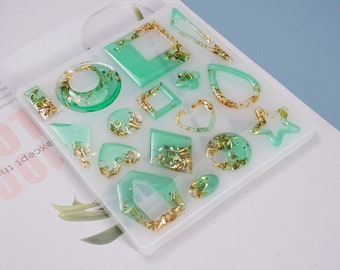
Have you ever wondered how to make earrings? It’s okay to be a little obsessed with jewellery, especially the handcrafted ones. Making jewellery on your own can be a fun project if you like to wear customized ones. Earrings are one piece of jewellery that is noticed by everyone. So, why not make your own handcrafted earrings that suit your style and personality.
There are a few simple steps while learning how to make earrings. You just need to plan out your project, gather your supplies, and choose the technique you find the easiest. Try making beaded, polymer clay, or seashell earrings. Hot glue earrings can also bring a twist to your jewellery game. Quilling earrings are one of the simplest and the most creative ones.
Creating your own DIY earrings is not that difficult. Once you are familiar with the basic techniques, you can make jewellery from almost any decorative item, including beads or origami.
We have a brilliant guide on how to make earrings that will help you start your jewellery-making journey. We cover everything from planning out your project gathering your supplies to different ways you can create unique earrings.
So, let’s dive in and learn how to make earrings.
Before you can start learning how to make earrings, you need to plan out the entire design in your mind. This will make it easier for you to craft pieces without getting too confused. You can also scroll social media websites such as Pinterest or Instagram and get inspired by designs of other jewellery makers.
Once you have a rough idea of your design, you can draw it out on a piece of paper. You can then note down all the supplies you will need for that particular project. This would make it easier to gather supplies without going too overboard.
Once you have planned out your earrings design, it’s time to start making a beautiful pair of earrings for yourself. This section of how to make earrings will discuss interesting techniques of this DIY project.
Hoop earrings are a trend that will be evergreen. Whether you’re going on a lunch date with your girlfriends or a casual night out, earrings make your outfit stand out. For this DIY project, you will need a tube of memory wire and a bunch of your favourite beads. You’ll also need French hook ear wires, a wire cutter, and round nose pliers.
It’s now time to make hoop earrings in this section on how to make earrings.
Polymer clay is a type of modelling clay that can make jewellery. You can easily create custom colours, sculpt them, and make designs the way you like. When you are learning how to make earrings, this technique can be pretty helpful.
While making polymer clay earrings, you will need polymer clay in your favourite colours, earring backs, jump rings, and super glue. You’ll also need parchment paper, acrylic rolling pin, craft knife, baking sheet, toothpick, and jewellery pliers.
It’s now time to make polymer clay earrings in this how-to make earrings section.
Seashells make a great addition to handcrafted earrings, especially scallop shells. They are perfect for a beachy or tropical outfit. While learning how to make earrings using a seashell, you will need beads, seashells, memory wire, jewellery pliers, and earring hooks.
Find a tutor for this topic
Boho-style earrings are statement pieces that will look great on bold outfits. While learning how to make earrings in boho style, you will need craft wire, pliers, beads, and a jewelry charm.
Make sure you plan out your earrings first and match your beads with the charm.
Creating hot glue earrings is a unique and easy way of creating customized pieces. While learning how to make earrings with hot glue, you will need a glue gun, glue sticks, and a silicone heat-safe mat. You’ll also need gold spray paint, acrylic paint, gloss finish lacquer, jump rings, hooks, and a strong adhesive.
It is now time to make hot glue earrings in this section of how to make earrings.
Feather earrings can be another great addition to your handmade earrings. While learning how to make earrings with feathers, you will need feathers, crimp beads, and an eye pin. You’ll also need a French hook and a pair of pliers.
Quilling is an art form where you coil the paper and form these coils into different designs. It is one of the easiest ways of creating an earring design.
When you learn how to make earrings using quilling, you will need quilling strips and a quilling needle. You’ll also need glue, paint, beads, and French hooks.
Learning how to make earrings can be a great DIY project to customize your jewellery according to your style and personality. If you want to learn more about jewellery-making techniques, you can take a 1:1 lesson from an online tutor.
An experienced jewelry maker will teach you the basic techniques required while learning how to make earrings. They’ll also let you in on tips and tricks you can use to kick up your creativity. You will also meet other jewelry enthusiasts and become a part of the community.
Lrnkey, an online tutoring platform, offers online tutorials for beginners and advanced jewelry enthusiasts. These one-on-one lessons hosted by expert tutors help you learn everything about making earrings, necklaces, and other jewelry pieces.
While making your earrings, you might need a little inspiration for the design. You can scroll social media websites such as Pinterest and Instagram and connect with DIY enthusiasts from all around the world. When you learn how to make earrings, you can take inspiration from them and tweak your design.
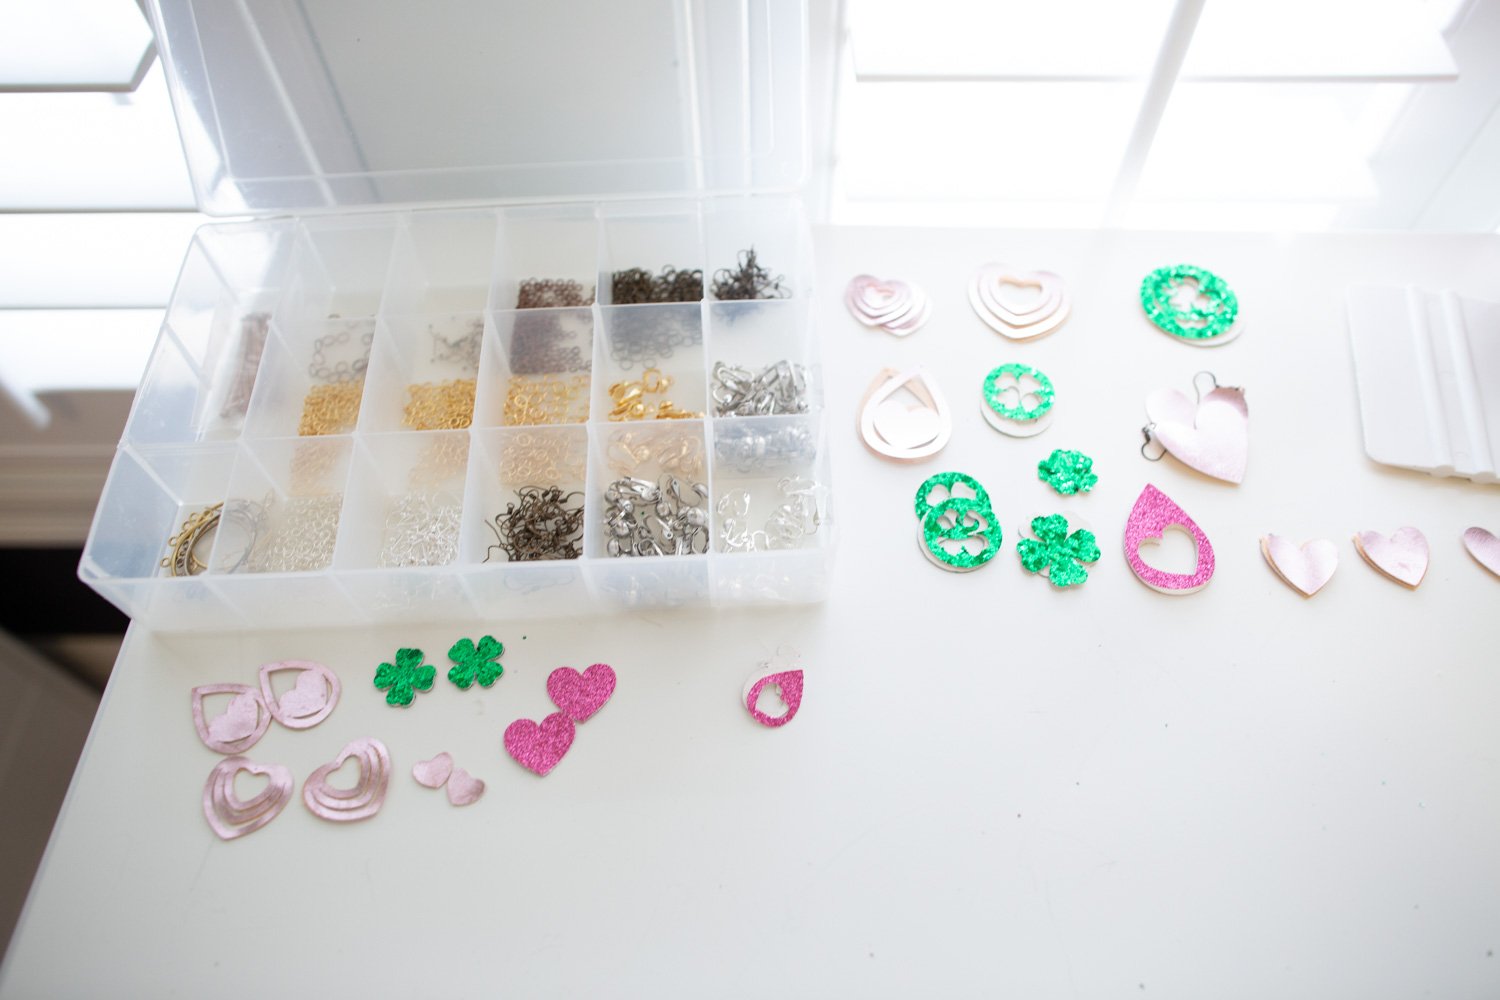
To make homemade earrings make sure you have your jewelry-making supplies ready like hooks, clamps, pliers, and beads. Next plan how you want your earring to look and assemble it starting with attaching beads to an earring hook and then clamping it to make it stay.
To make your own earrings for beginners get some earring hooks or hoops, beads or decorations depending on how you’d like your earrings to look, and other jewelry-making supplies. Attach the decorations or beads to your earring hooks or hand them from the hoops. Make sure to use clasps so the decorations don’t fall off when you wear the earrings.
We recommend the following materials if you want to make your own earrings:
To make earrings out of anything get some earring hooks and some wire. Then you can create a hole in any decoration you want your earrings to be made of and attach it firmly to the bottom of the earring hook.
To make hook earrings get some earring hooks and beads or charms that you’d like to have as the decoration part of the earring. Attach the charm or beads to the earring hook using wire or string clasping the knot at the end to make sure the decoration stays on the jewelry.


Explore more than 500+ high-income skills
Practice with experienced tutors
Book your first free lessonAre you a robot?